

- 06/06/2025
- Posted by: phucthien
- Categories: Blog, Care, Attachment & Repair, Custom Hair Systems
No Comments
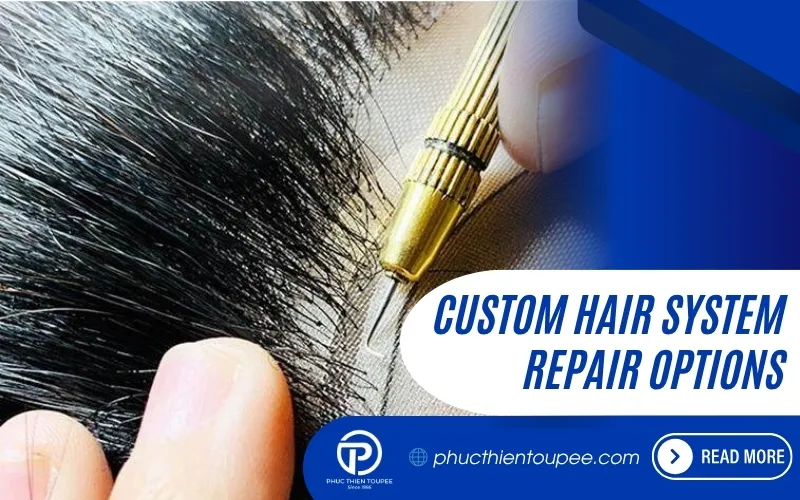
4 Custom Hair System Repair Options: DIY vs Professional
Custom hair system repair options are essential for maintaining the appearance and longevity of your investment.
Understanding Custom Hair Systems
- Types of Hair Used and Repair Notes: Human Hair (Remy): Cuticles intact and aligned.

Common Hair System Damage Scenarios
- Faded or Incorrect Hair Color: Hair color can change over time or may not perfectly match initially.
- Adhesive Buildup and Residue Issues: Causes: Not thoroughly removing tape or liquid adhesive during maintenance, using incorrect solvents, allowing residue to cure onto the base.

DIY Hair System Repair: The Home Approach
For those comfortable with hands-on tasks, some minor repairs can be tackled at home.
- Pros of DIY Repair: Cost Savings: Avoid professional service fees; only pay for materials (which can be minimal for minor fixes).
- Step-by-Step DIY Guide: Fixing Minor Lace Tears: Disclaimer: Attempt this only on small, clean tears away from the critical front hairline if possible. Inspect: Check the repair from both sides.
- Step-by-Step DIY Guide: Addressing Minor Color Fading (Temporary): Disclaimer: Permanent color correction is complex and best left to professionals.
- When DIY is NOT Recommended: Large or Complex Base Tears: Especially tears across the main body, hairline, or involving multiple base materials.
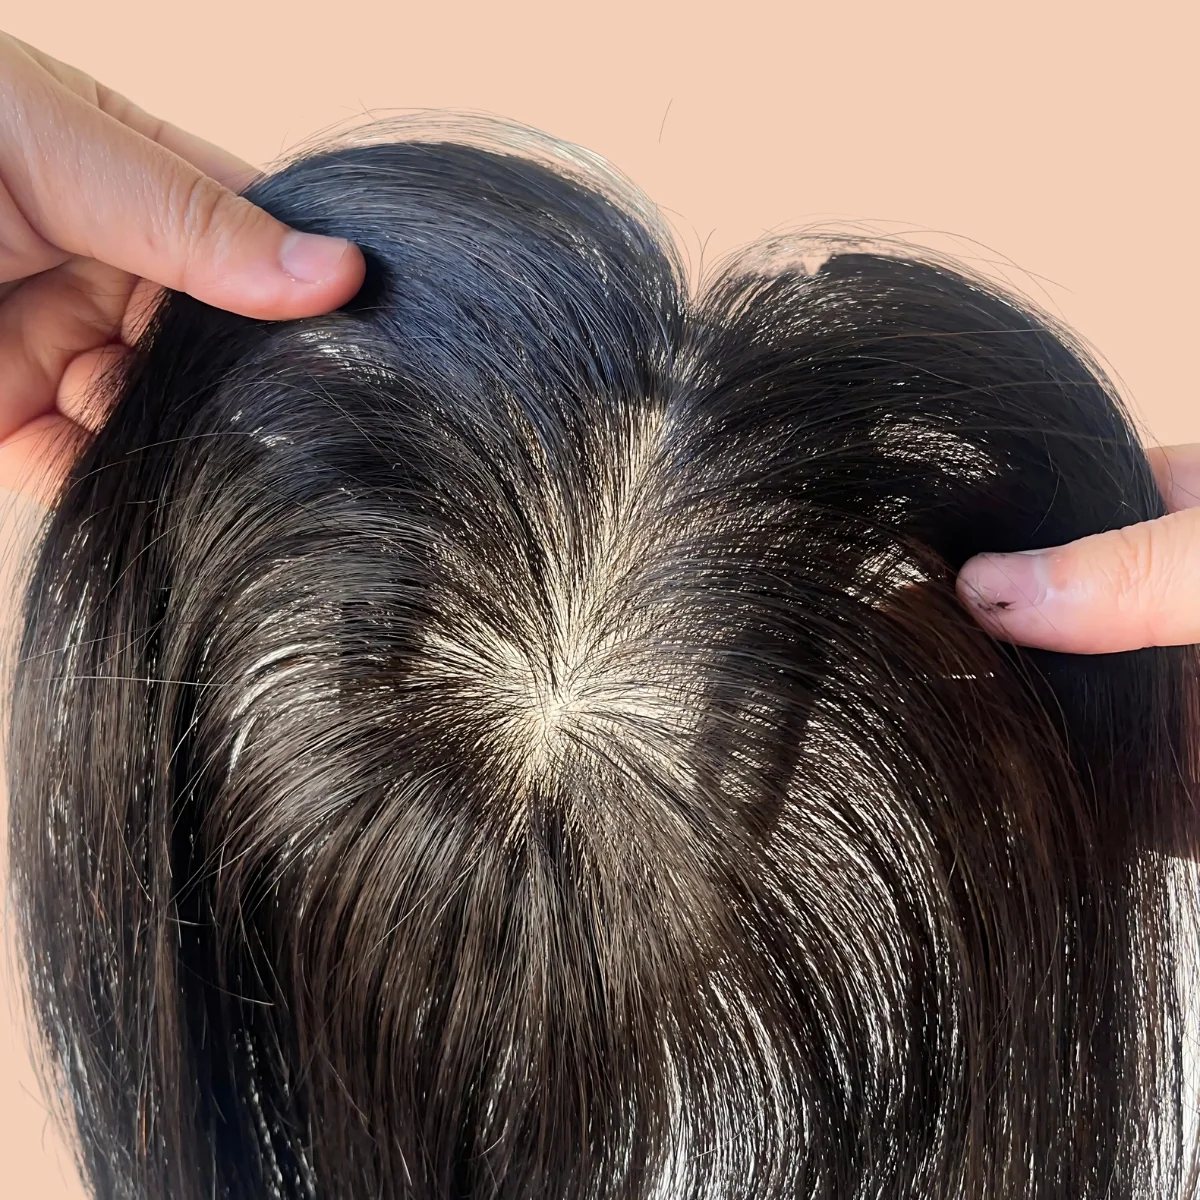
Professional Hair System Repair: Expert Solutions
When damage is significant, requires specialized skills, or you simply prefer an expert touch, professional repair services are the way to go.
- Cons of Professional Repair: Cost: Professional services involve labor and expertise, making them significantly more expensive than DIY materials.
- Services Offered by Professionals: Base Tear Repair: Mending rips and tears in lace, poly, or monofilament using advanced techniques for minimal visibility and maximum durability.
- How to Choose a Reputable Repair Service: Experience: Look for providers with years of experience specifically in custom hair system repair , not just general wig styling.
- The Professional Repair Process (Typical Steps): Contact and Consultation: Reach out to the service (like Phuc Thien), describe the issue, and provide clear photos or schedule an in-person assessment.
Comparing DIY vs Professional
Choosing between DIY and professional repair depends on several factors.
- Time Commitment: DIY: Requires time for research, learning, purchasing supplies, and performing the repair.
- Skill Level Required: DIY: Ranges from basic (knot sealing) to moderate/advanced (lace stitching, minor color touch-ups).
- Type and Severity of Damage: Minor Issues (Good for DIY candidates): Slight shedding (needs knot sealing), tiny edge fray/tear, minor adhesive buildup, temporary color touch-up needs.
- Desired Quality and Longevity of Repair: Repairs might be functional but visible, or less durable than professional work.
Extending Your Hair System’s Lifespan
The best repair is the one you don’t have to do.
- Proper Cleaning and Conditioning Techniques: Use Recommended Products: Stick to shampoos, conditioners, and solvents specifically designed for hair systems or color-treated hair.
- Gentle Handling and Storage: Avoid Pulling/Tugging: Be mindful when styling, removing tapes/adhesives, or scratching your scalp.
- Using the Right Adhesives and Solvents: Choose Appropriate Bond: Select tapes or liquid adhesives suitable for your base type, skin type, and desired hold time.
- Regular Maintenance Schedule: Knot Sealing: Apply knot sealer to the underside of the base (especially lace and mono) after every few washes or as recommended by the manufacturer/supplier like Phuc Thien.
- Avoiding Harsh Chemicals and Excessive Heat: Chlorine and Saltwater: Rinse the hair system thoroughly with fresh water immediately after swimming in pools or saltwater.
Emergency Hair System Fixes
Sometimes, despite best efforts, minor issues pop up unexpectedly when professional help isn’t immediately available.
- Quick Fixes for Minor Issues: Tiny Lace Fray/Hole (Not a full tear): A tiny dab of clear nail polish or liquid bandage on the underside can sometimes stop a fray from worsening temporarily until a proper repair can be done.
- Finding Urgent Professional Help: Contact Your Regular Supplier/Salon: Call Phuc Thien Toupee or your usual provider.
Essential Tools and Materials for DIY Kit
| Tool/Material | Purpose | Notes |
| Mannequin Head/Stand | Securely holds the system during repair | Choose one appropriately sized. |
| T-Pins | Secures the system to the mannequin head | Use plenty to keep the base taut but not stretched. |
| Fine Needle & Thread | For stitching lace tears | Match thread color to hair or base; use fine nylon. |
| Knot Sealer | Secures hair knots to prevent shedding | Apply sparingly to the underside of the base. |
| Base Repair Tape | Quick patch for small poly/lace tears | Specialized tapes exist; may be temporary. |
| Liquid Sealant | For sealing poly tears or reinforcing edges | E.g., liquid polyurethane; requires careful application. |
| Adhesive Remover | Thoroughly cleans base before repair | Choose one suitable for your base and adhesive. |
| Isopropyl Alcohol | Final cleaning/prep before applying patches/sealant | 90%+ concentration recommended. |
| Small Scissors | Trimming threads, tape, or stray hairs | Sharp, fine-tipped scissors are best. |
| Tweezers | Handling small items, positioning patches | Fine-tipped tweezers offer precision. |
| Temporary Color Stick | Concealing faded roots or small gray areas | Hair mascara or color crayons; washes out. |
| Hair Samples (Optional) | For precise color matching if attempting dyes | Keep trimmings from initial fitting. |
| Magnifying Glass/Lamp | For detailed work like stitching or knotting | Good lighting and magnification are key. |